A hard launch that turns into a sharp bang, sudden vibration, or a car that revs without moving is not a problem to ignore. Axle failure causes are often blamed on big horsepower alone, but the real issue is usually a combination of torque, traction, suspension geometry, component condition, and how the vehicle is used. On a tuned MQB car, an RS3, or a high-output BMW, the axle is part of a complete drivetrain system. Treating it like an isolated part is how repeat failures happen.
A factory axle can tolerate far more than many owners expect when the joints are healthy and wheel hop is controlled. But once power, grip, launch aggression, ride height, and track use rise together, its safety margin can disappear quickly. The right repair is not always simply buying the strongest axle available. It starts with identifying what actually failed and why.
The Most Common Axle Failure Causes
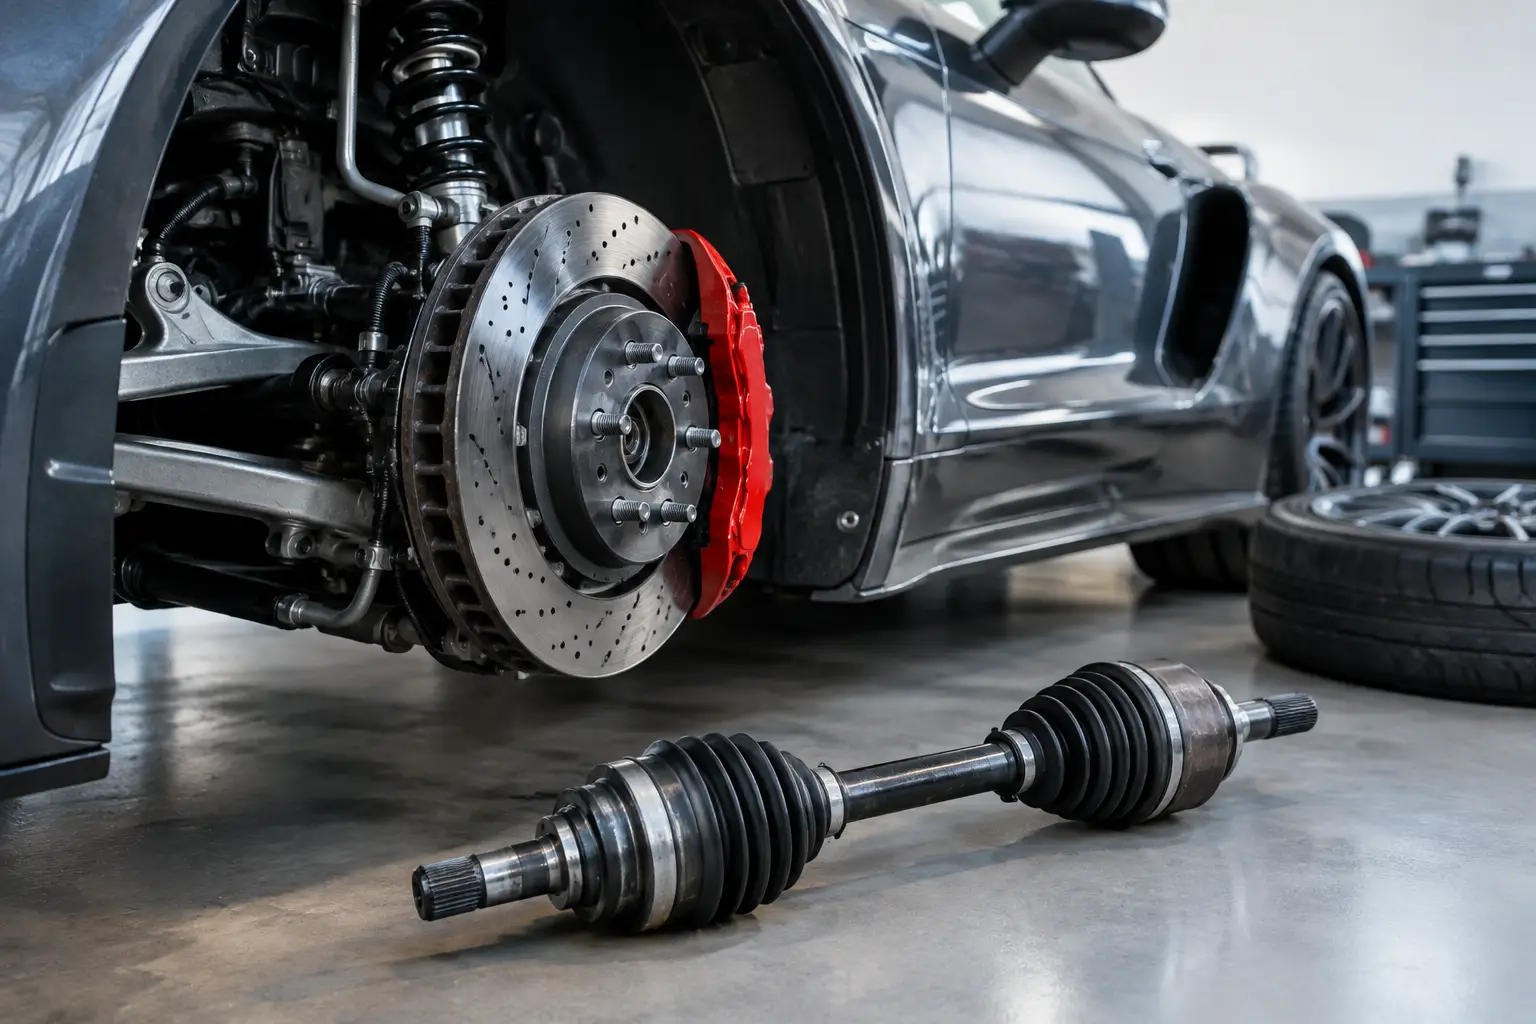
An axle assembly transfers engine torque through the differential to the wheel while accommodating steering angle and suspension travel. On front-wheel-drive and all-wheel-drive European platforms, this job is handled by constant-velocity, or CV, joints at each end of the shaft. Failures can occur at the CV joint, boot, shaft, splines, wheel hub interface, or associated hardware.
Torque Shock and Aggressive Launches
Peak horsepower gets attention, but torque shock breaks parts. A clutch dump, brake-boosted launch, or abrupt traction event loads the axle far more violently than a smooth roll pull at the same power level. The driveline twists, the tire bites, and the CV joint must absorb a sudden spike instead of a gradual transfer of force.
This is especially relevant on cars running sticky drag radials, upgraded clutches, aggressive transmission calibration, or high-torque hybrid turbo setups. More grip is usually good for elapsed time, but it can expose the next weak link in the driveline. If an axle fails only during hard launches and looks normal during street driving, shock loading should be at the top of the diagnosis list.
Wheel Hop
Wheel hop is one of the fastest ways to damage axles, CV joints, mounts, differentials, and transmissions. As the tire repeatedly grabs and releases, the axle sees rapid, alternating loads that can exceed what a clean launch would produce. The driver may feel it as a violent shudder through the chassis, but the damage happens at the joints and splines.
Do not keep testing launches when wheel hop appears. Address worn control-arm bushings, weak engine and transmission mounts, soft subframe mounts, poor damper control, and unsuitable tire pressure before adding more power. A stronger axle can help, but it will not solve a chassis that is repeatedly shocking the driveline.
Torn CV Boots and Grease Loss
A cracked or torn CV boot is a small failure with expensive consequences. Once grease leaves the joint, heat and metal-to-metal wear follow. Dirt, water, and road debris can enter the boot and turn the remaining lubricant into an abrasive paste.
Early signs include grease thrown onto the inside of the wheel, suspension components, or underbody. A clicking sound while turning at low speed often points to an outer CV joint, while a vibration under acceleration may suggest an inner joint. Catching a damaged boot early may save the axle assembly. Continuing to drive until the joint clicks, binds, or vibrates usually means replacement is the smarter option.
Excessive CV Angle From Lowering
Lowering a vehicle can improve stance and reduce body movement, but it also changes axle angle. If the car sits too low, the inner CV joint may operate near the edge of its intended travel during normal driving. Under compression, it can bind, wear rapidly, or place side loads on the joint and shaft.
This does not mean every lowered car needs custom axles. It depends on platform, ride height, suspension travel, axle design, and intended use. A mild drop with correctly matched springs and dampers may be perfectly workable. An aggressively lowered car that sees hard launches, rough roads, or track curbing needs a closer look at geometry, bump travel, and joint articulation.
Worn Mounts, Bushings, and Suspension Components
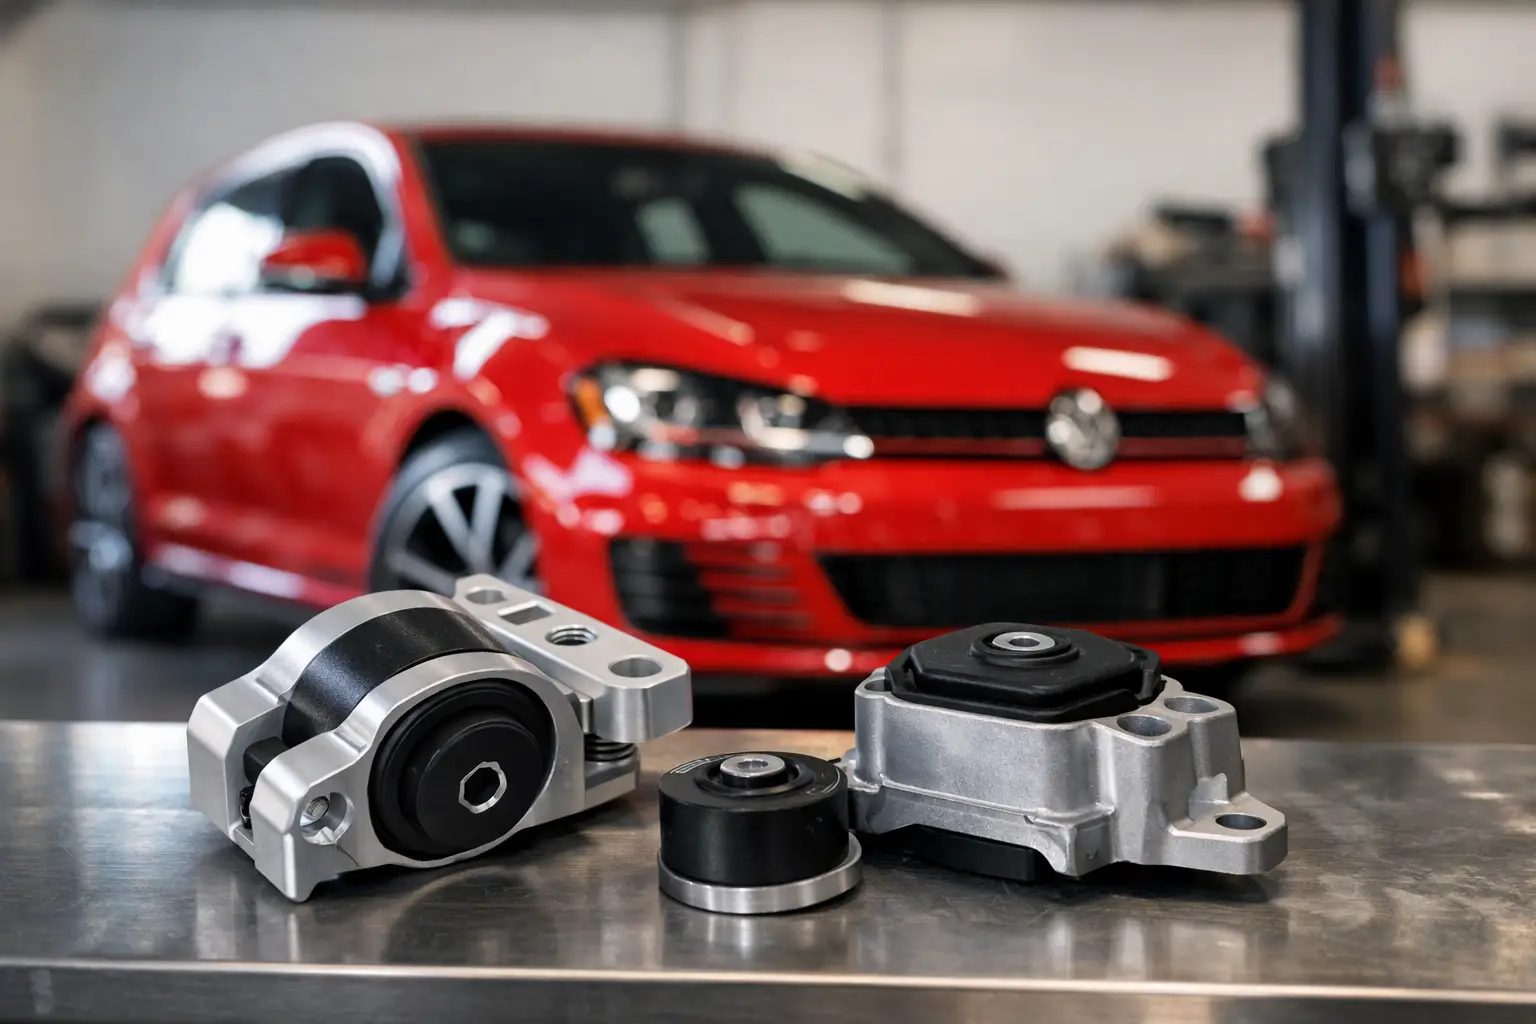
Engine mounts, transmission mounts, dogbone mounts, control-arm bushings, and subframe bushings all influence how torque travels through the vehicle. When these parts wear or deflect excessively, the drivetrain moves more than it should. That movement changes axle angles under load and increases the chance of joint bind or repeated shock loading.
The trade-off is straightforward: firmer mounts can improve consistency and reduce wheel hop, but they may add cabin noise and vibration. For a street-driven performance car, a well-matched mount package is usually better than choosing the hardest available bushing or mount. The goal is controlled movement, not a harsh car that transfers every vibration into the cabin.
Incorrect Installation or Hardware Problems
Not every broken axle is a capacity problem. Improper axle bolt torque, reused stretch hardware where replacement is required, damaged hub splines, or an axle that is not fully seated can create serious issues. A loose axle-to-hub connection can wear splines, cause noise, and damage expensive surrounding components.
Fitment matters just as much. European platforms can vary by transmission, differential, model year, brake package, hub style, and engine output. An axle that appears similar may have a different spline count, length, flange pattern, or joint specification. Verify the exact vehicle configuration before ordering, and use the manufacturer’s required torque procedure and new hardware where specified.
Diagnosing Axle Failure Before Buying Parts
Start with a visual inspection. Look for torn boots, grease leakage, heat discoloration, damaged splines, loose hardware, and contact marks where an axle may be rubbing against a component. Check both sides. If one axle failed, the other has experienced the same mileage, weather, and drivetrain loads.
Then match the symptom to the driving condition. Clicking during tight turns commonly suggests an outer CV joint. A shudder or vibration during acceleration can point to an inner CV joint, excessive axle runout, or a drivetrain alignment issue. A single bang on throttle application may come from mounts, differential backlash, or suspension play rather than the axle itself.
If the axle shaft snapped, inspect the break closely. A twisted or spiral-looking fracture often indicates overload from torque and traction. A break near a damaged joint may point to binding or fatigue. Repeated failure on the same side should trigger a deeper inspection of ride height, mounts, alignment, wheel hop, and differential condition before another axle goes in.
Choosing the Right Axle for a Performance Build
A replacement axle should match the actual use case. A daily-driven Stage 1 or Stage 2 vehicle with healthy mounts and street tires may need only a premium OE-quality replacement. A car making substantial torque on drag radials, launching regularly, or competing at the track may justify an upgraded axle engineered for higher torque capacity and severe-duty CV joints.
Avoid choosing solely by a claimed horsepower number. Vehicle weight, transmission type, tire compound, differential setup, launch strategy, and torque curve all matter. A 600-horsepower road-course car on street tires can be easier on axles than a lower-power AWD car making repeated high-grip launches.
For serious builds, consider the entire driveline package. Quality mounts can control movement, suspension components can reduce hop, and properly selected wheels and tires can keep traction predictable. An upgraded axle is strongest when it is supported by the rest of the system.
Prevention Starts With Setup, Not Just Parts
Inspect CV boots during every oil service, especially on lowered cars or vehicles driven in harsh weather. Replace deteriorated mounts and bushings before they allow excessive movement. If you add power or grip, test launches progressively rather than treating the first full-power hit as a durability test.
The fastest way to protect an axle is to eliminate wheel hop and keep CV angles within a sensible range. Use the correct hardware, follow torque specifications, and recheck critical fasteners after major drivetrain work. These details matter on stock vehicles and matter even more once output climbs beyond factory intent.
When a performance build needs axle upgrades, choose components around the vehicle’s actual platform, power delivery, and use case. EAS Store supports enthusiasts and specialty shops with premium performance parts and fitment-focused guidance, so the drivetrain upgrade works with the rest of the build instead of becoming the next weak link.