
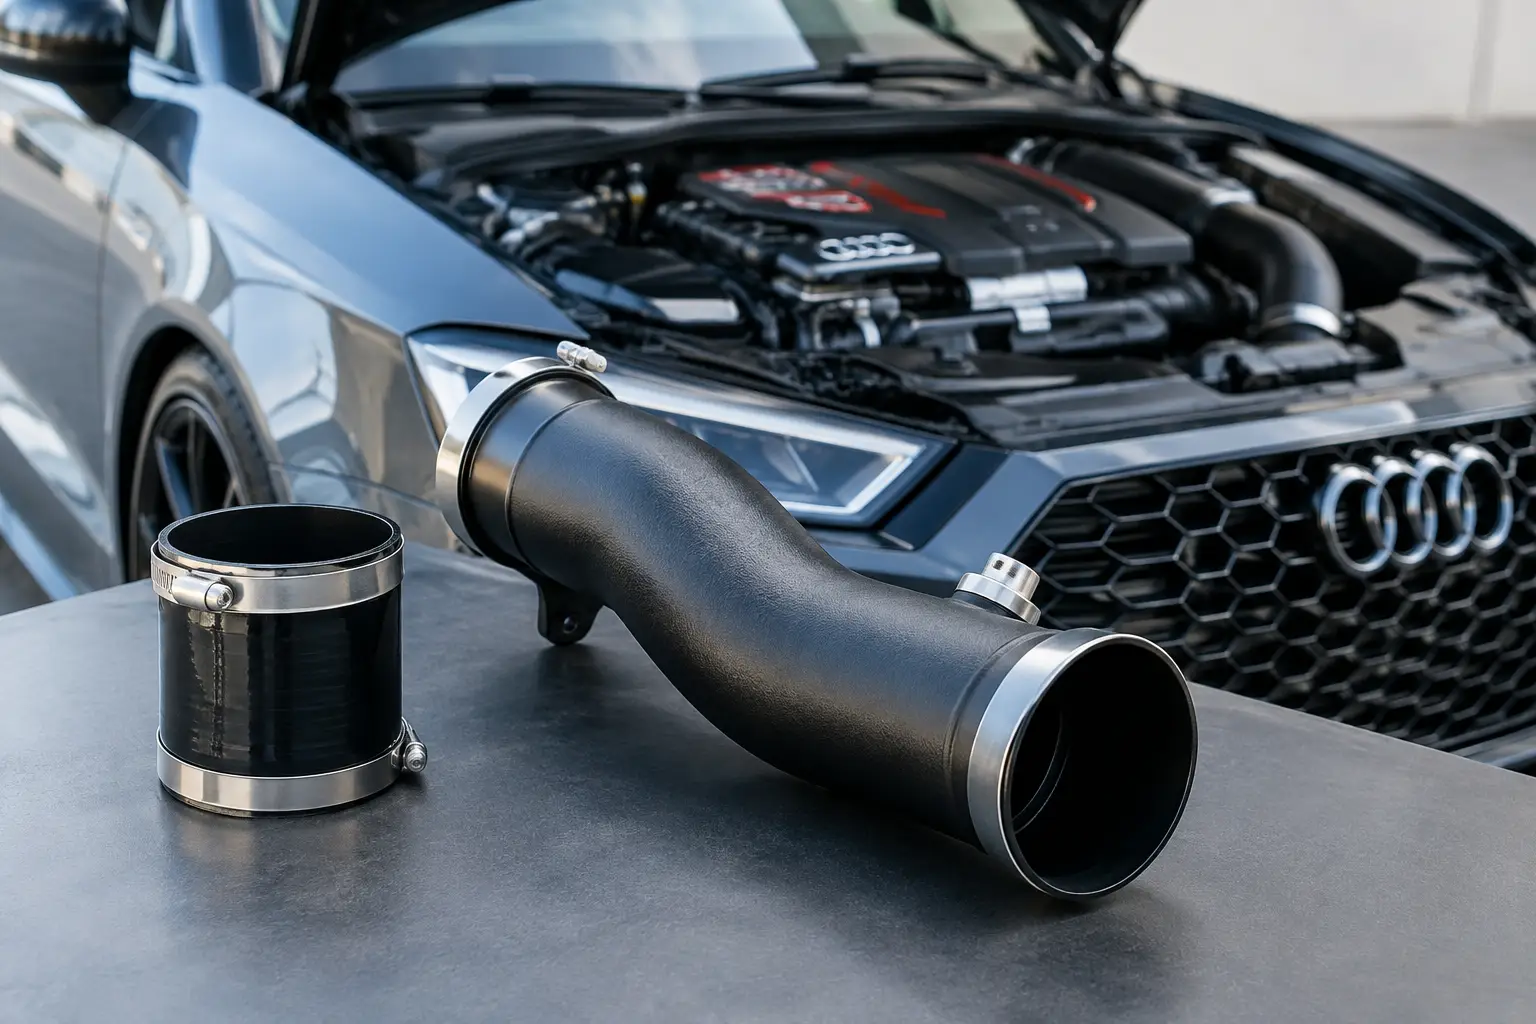
The factory RS3 intake tract is not the first restriction most owners notice, but it becomes harder to ignore once the car is tuned, fitted with a freer-flowing intake, or pushed toward a larger turbocharger. This RS3 turbo inlet review looks at what an upgraded inlet actually changes on the 2.5TFSI, where it belongs in a sensible parts plan, and why the right fitment matters more than an oversized marketing claim.
For most DAZA and DNWA RS3 owners, a turbo inlet is a supporting airflow upgrade rather than a standalone horsepower hero. That is not a criticism. It is exactly why it works well: it removes a bottleneck at the turbocharger entrance and gives the surrounding intake system a cleaner path to do its job.
What an RS3 Turbo Inlet Does
The turbo inlet is the section connecting the intake pipe to the compressor inlet on the turbocharger. On a factory car, this area is designed around packaging, noise control, manufacturing cost, and stock power requirements. It does its job well at OEM output, but the internal transition, diameter, and connection geometry can become limiting when airflow demand rises.
A quality RS3 turbo inlet typically replaces the restrictive factory section with a smoother, larger-radius component. Depending on the design, it may use cast aluminum, billet aluminum, composite construction, or formed silicone couplers. The goal is not simply a bigger opening. The best parts improve the transition into the compressor while maintaining proper sealing and a stable connection under boost.
That distinction matters. An inlet that looks large at the outer diameter can still create turbulence or a poor transition at the turbo face. For a serious 2.5TFSI build, the internal shape, machining accuracy, gasket arrangement, and compatibility with the chosen intake are all part of the performance equation.
RS3 Turbo Inlet Review: Real-World Expectations
The honest answer is that an inlet alone rarely transforms an otherwise stock RS3. If you install one and expect a dramatic seat-of-the-pants increase, you may be disappointed. The gains tend to be incremental on a stock calibration because the factory turbo and intake system are operating well within their intended range.
Where the upgrade starts to make sense is on a tuned car. Stage 1 and Stage 2 owners commonly pair a turbo inlet with an intake because both parts address the same side of the engine: getting air to the compressor with less restriction. The result may be better airflow headroom, more consistent performance at higher engine speed, and sharper induction character. The sound change can be more noticeable than the peak power change, particularly with an open or high-flow intake.
On hybrid-turbo and big-turbo applications, the value becomes more direct. A larger compressor can only work efficiently if the inlet tract can feed it. At that point, the factory inlet is often a part you replace because the build requires it, not because you are chasing a small isolated gain. It is a practical supporting modification for owners targeting high-output street cars, roll-racing setups, and track-focused RS3 builds.
Fitment Is More Important Than the Product Name
“RS3 turbo inlet” is a broad search term, not a universal fitment category. The Audi RS3 2.5TFSI platform spans different generations, engine codes, turbocharger arrangements, and intake layouts. A part designed for an 8V DAZA car may not fit a newer 8Y DNWA application without changes. The same issue applies when comparing factory turbo, hybrid turbo, and aftermarket big-turbo setups.
Before purchasing, confirm the vehicle year, chassis, engine code, turbocharger, and intake system. Some inlets are designed to work with the factory airbox and factory intake tube. Others require a matching intake from the same manufacturer, a specific silicone adapter, or a larger-diameter intake pipe. Mixing brands can work, but it should never be assumed.
Pay close attention to connection style as well. The turbo-side flange or coupler must match the compressor housing, while the intake-side diameter must match the pipe feeding it. A forced connection, an incorrectly sized coupler, or a clamp positioned on an uneven bead can create an unmetered air leak. On a tuned direct-injection turbo engine, that is not a minor inconvenience. It can lead to drivability problems, fault codes, boost leaks, and wasted diagnostic time.
Build Quality to Look For
Premium inlet options cost more for reasons that matter on a hard-driven car. The material needs to tolerate heat cycling near the turbocharger. Machined surfaces need to seal correctly. Mounting provisions, vacuum ports, and PCV connections need to be placed accurately. If the design uses an O-ring, its groove depth and fit are just as important as the visible finish.
Look for smooth internal geometry rather than a part chosen solely for exterior appearance. A gradual transition is generally preferable to abrupt steps that disrupt airflow. Also inspect how the manufacturer handles the factory breather or PCV provisions. A clean, application-specific solution is better than adding improvised fittings to a universal pipe.
Finish still has value, especially in an engine bay built to a high standard, but it should be secondary to function. Black anodized, raw machined, and coated parts can all perform well if the dimensions and sealing strategy are right. For track use or high-boost street driving, proven hardware and secure coupler retention deserve more attention than color.
Installation: Straightforward, But Not Careless
An RS3 turbo inlet is usually an achievable installation for an experienced enthusiast, although access can be tighter than the part itself suggests. The intake assembly must come out first, and the turbo-side connection may require patience depending on the car and hardware configuration. This is not the place to rush with a screwdriver and overtighten every clamp.
Start with a cool engine. Inspect the mating area at the turbo for old gasket material, dirt, or oil residue, then clean it before fitting the new inlet. If the kit includes a new O-ring or seal, use it. Position the inlet naturally before tightening any clamps or fasteners, ensuring that it is not under tension from the intake pipe.
Once installed, inspect every vacuum, breather, and PCV connection. After a short drive and full heat cycle, recheck clamp position and hardware torque. Owners running elevated boost should consider a pressure test if there is any question about sealing. A proper installation is what turns a premium inlet into a reliable upgrade rather than an expensive source of leaks.
When the Upgrade Is Worth Buying
A turbo inlet is an easy recommendation when the factory inlet is already being removed for an intake upgrade, turbocharger installation, or engine-bay refresh. Labor overlap makes the decision more attractive, and the part helps prevent the new setup from being choked by an older restrictive section.
It is also a smart choice for tuned RS3 and TTRS owners who want a complete intake-side package. Intake, inlet, calibration, and turbocharger selection should be evaluated together. If the car is stock and quiet daily-driver refinement is the priority, the factory inlet is not a weak point that demands immediate replacement.
For larger turbo builds, do not treat the inlet as optional without checking the compressor inlet specification. A big-turbo conversion may require a dedicated inlet diameter and a matching intake pipe. Selecting the wrong version can stop an otherwise straightforward build before it starts.
EAS Store customers building an RS3 should approach this part the same way they approach fueling or intercooler upgrades: choose for the exact vehicle and the final power goal, not just the current modification list. A correctly matched inlet is a small component with a meaningful role in a well-planned 2.5TFSI package.
The best RS3 turbo inlet is not necessarily the largest or the loudest. It is the one that seals correctly, fits the intake and turbocharger you actually run, and leaves room for the next stage of your build.


